I’m super stinking excited about this one.
After several iterations of drilling holes in wood, I began looking for a solution that would:
- Be faster to make
- Have a much higher density
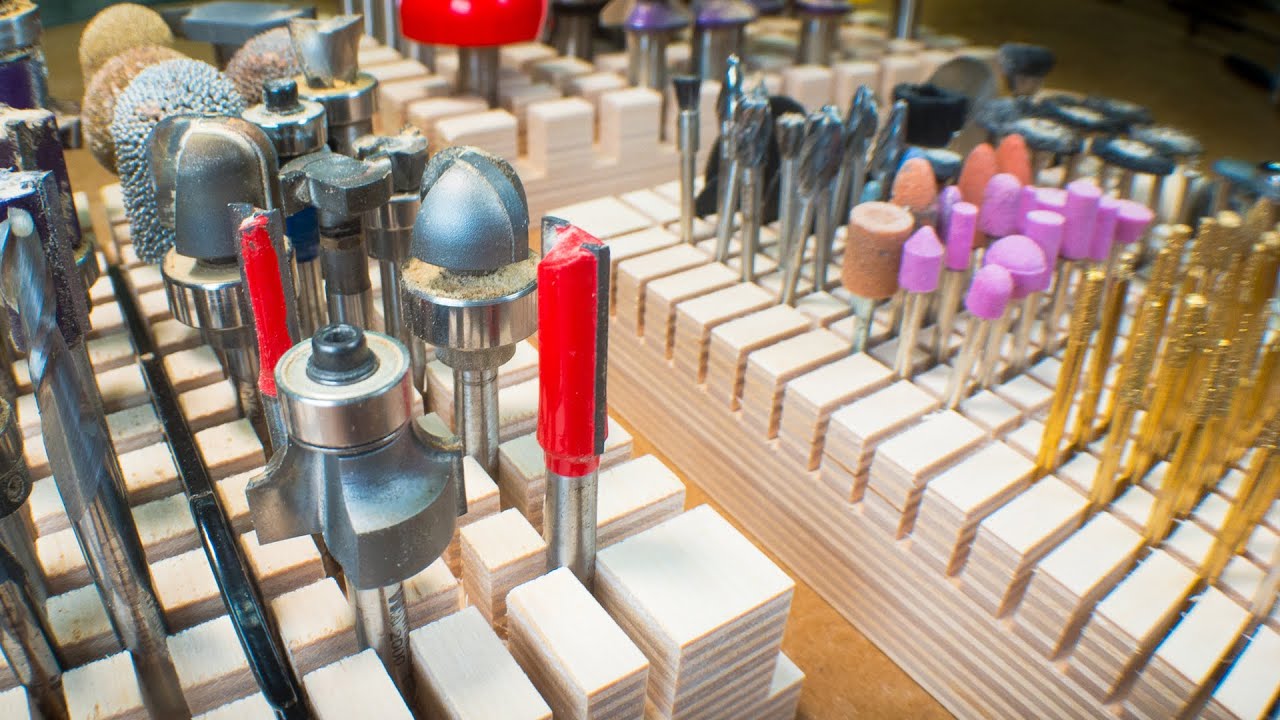
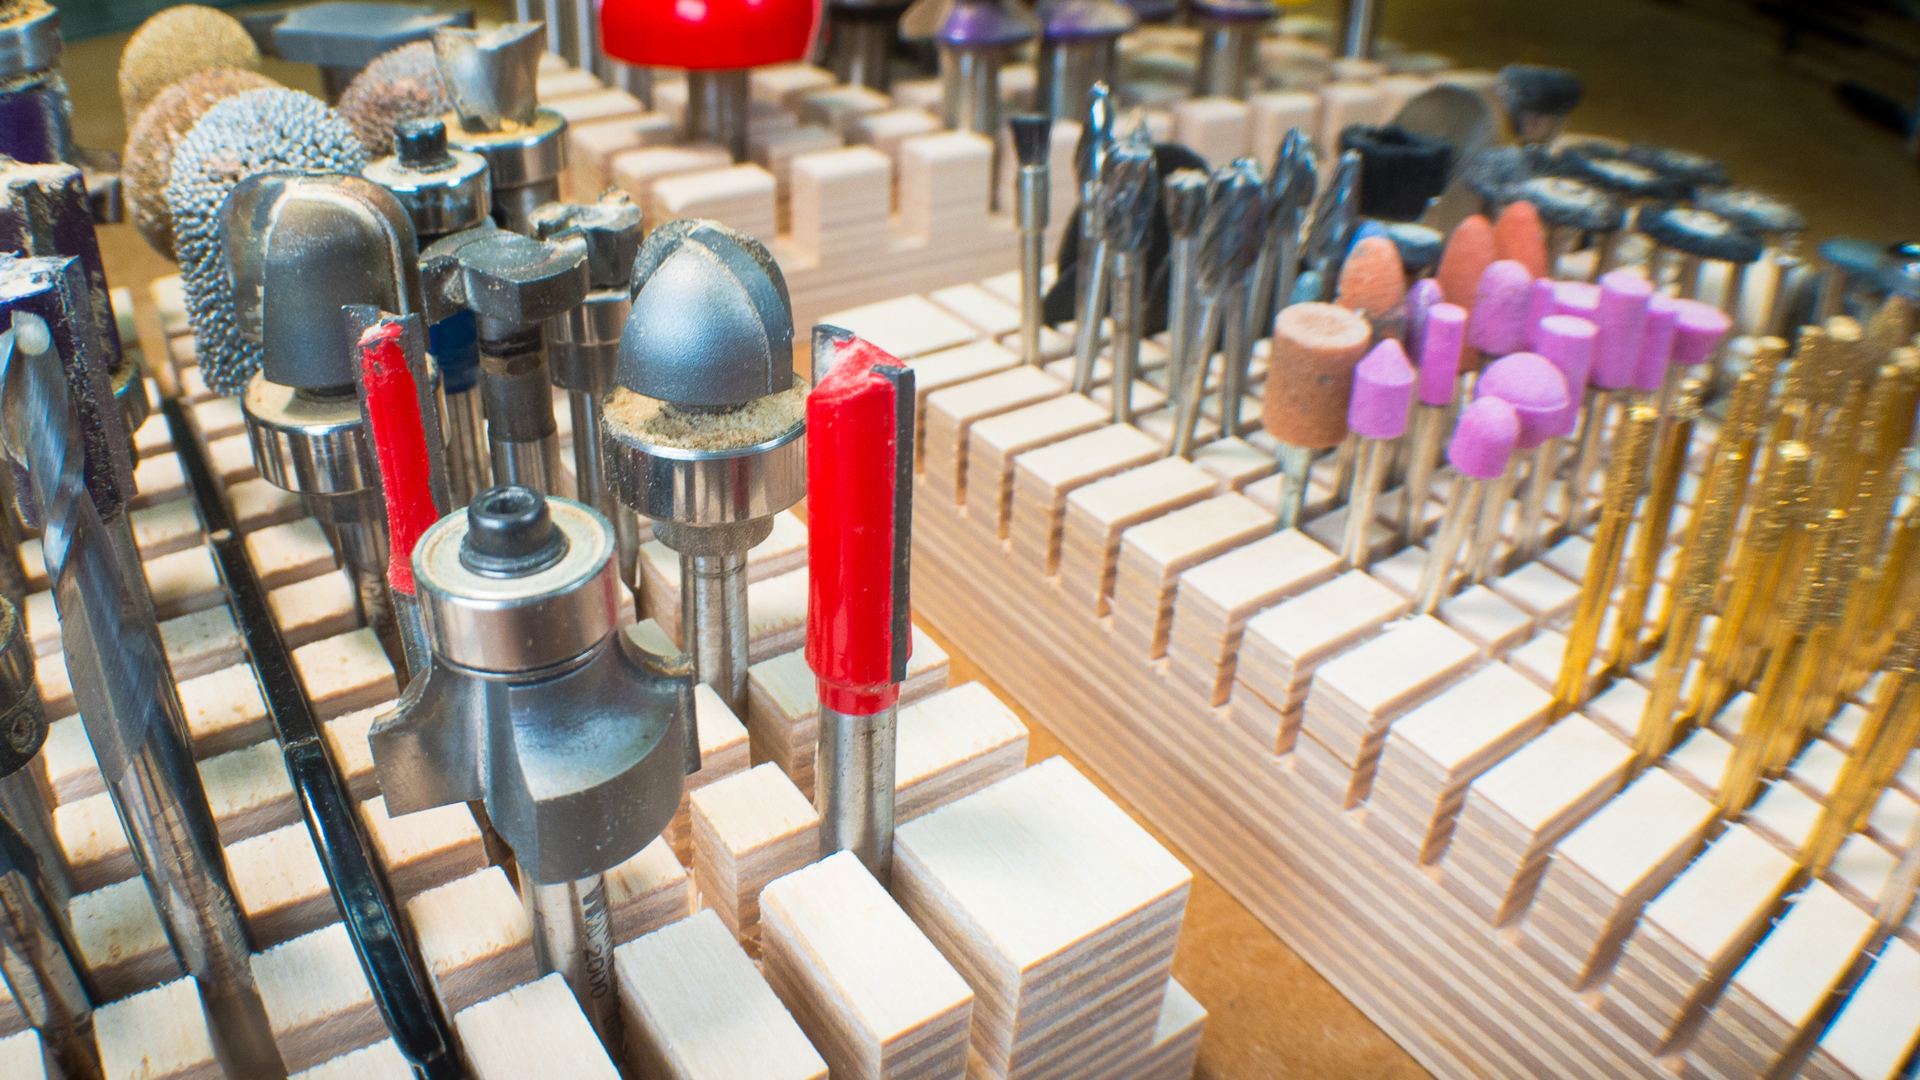
After several bad ideas over the course of several months, I had an epiphany: Intersecting dadoes are perfect for keeping cylinders upright.
The idea: Find the perfect dado width — just smaller than the shank diameter, yet large enough that the intersection of 2 dadoes would accommodate the shank. A shank can fit in the intersection, but not the dadoes that make up that intersection.

The Benefits:
- Speed
- Density
- Organizational bliss
The Speed: Wayyyyy faster than I anticipated. In ~25 minutes, I was able to:
- Drill 63 holes for the 1/2" shank tray
- Drill 216 holes for the 1/4" shank tray
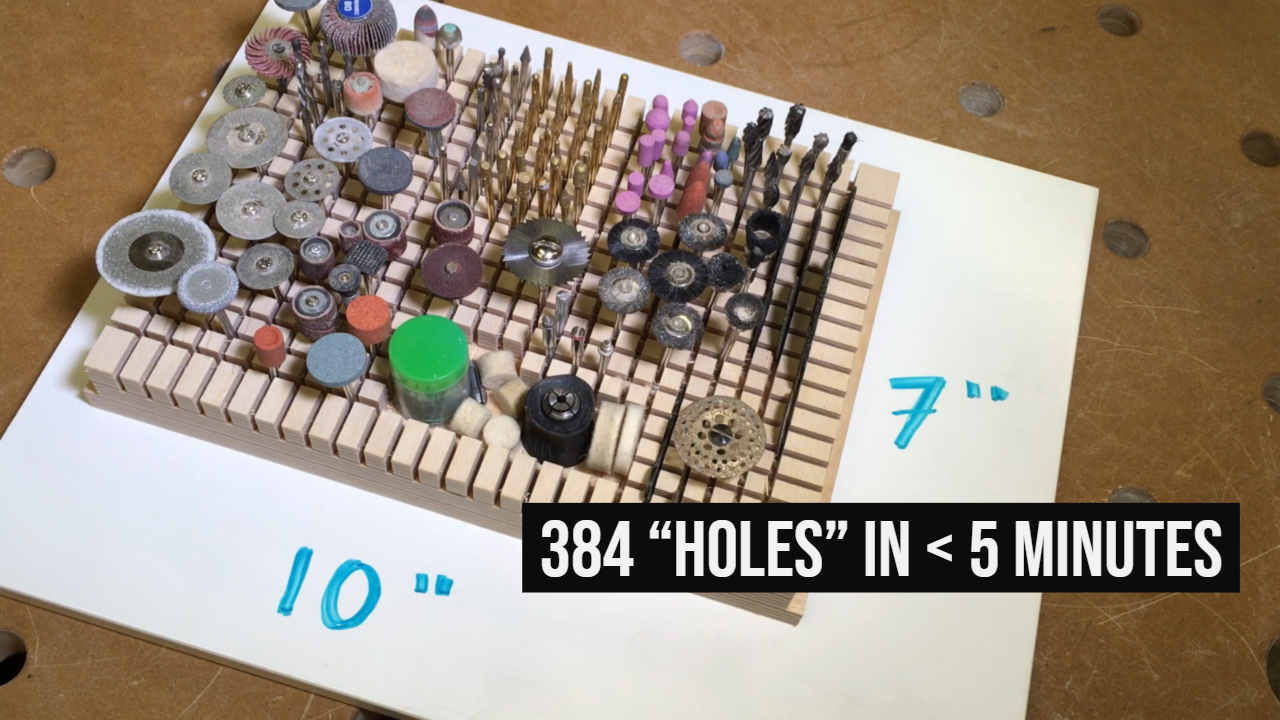
- Drill 384 holes for the 1/8" shank tray
- Change blade setups between trays
- Sand off the tearout in the grooves of each board

I’ll Make It Easy For You
Note: This is not a prototype. The prototypes were made over a year ago. What I’m showing here is the tweaked, final project after a year of using them.
Gather Parts & Tools
Parts:
- Part of a 2×6 (that’s all — skip the glue-up)


Tools:
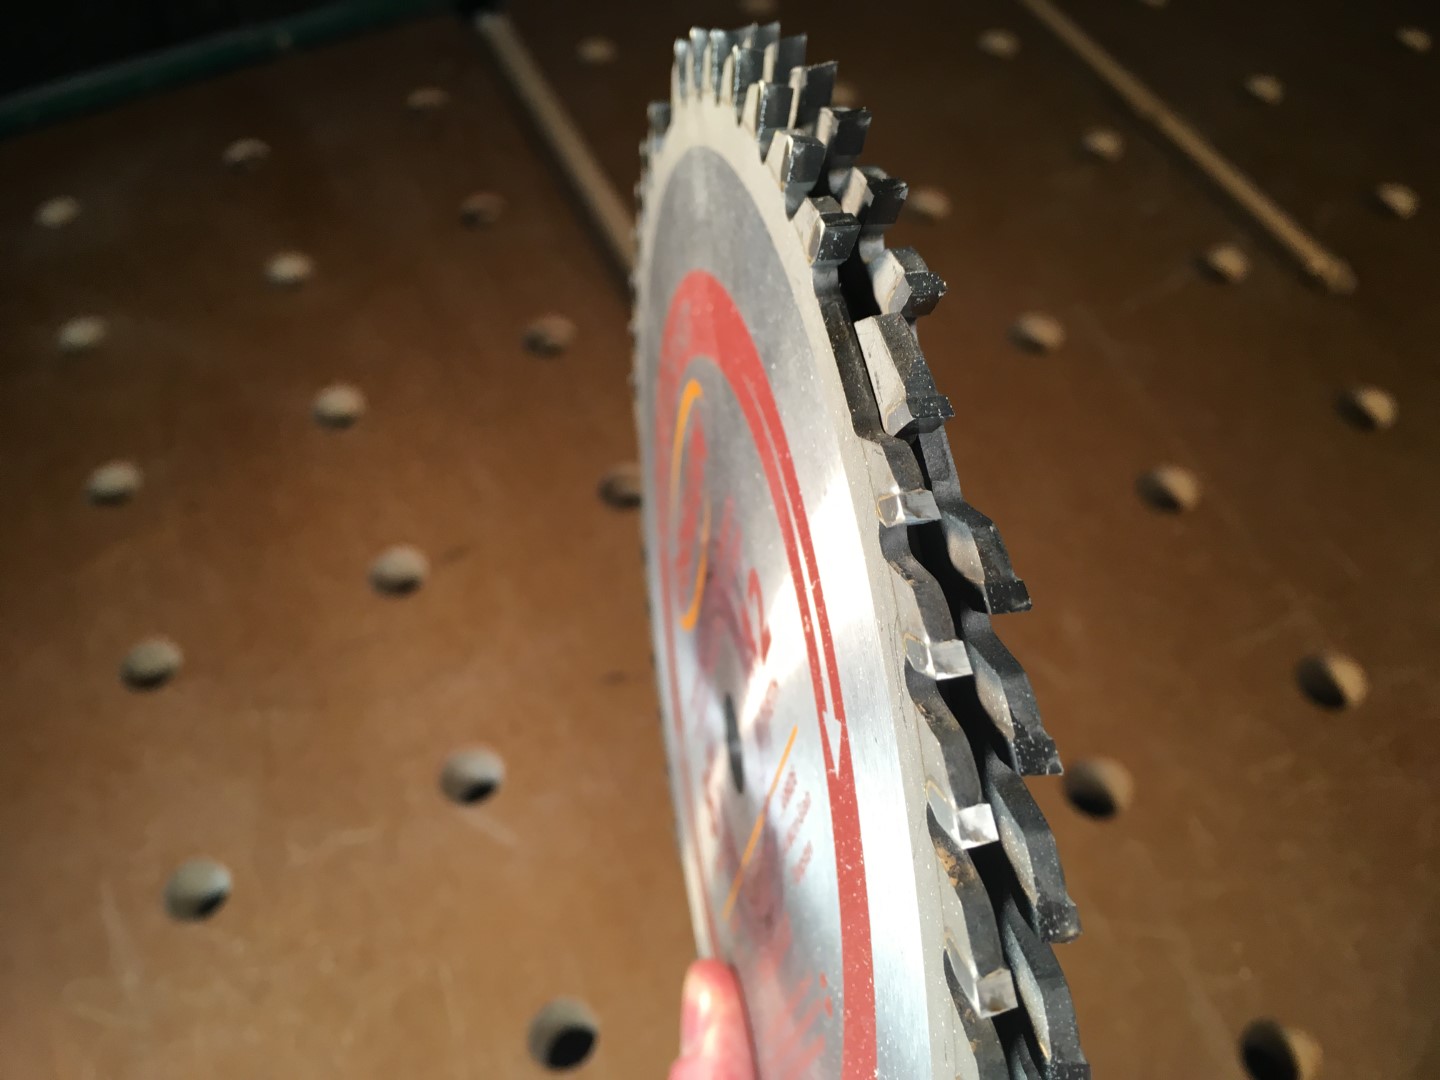
- Oshlun Dado Stack
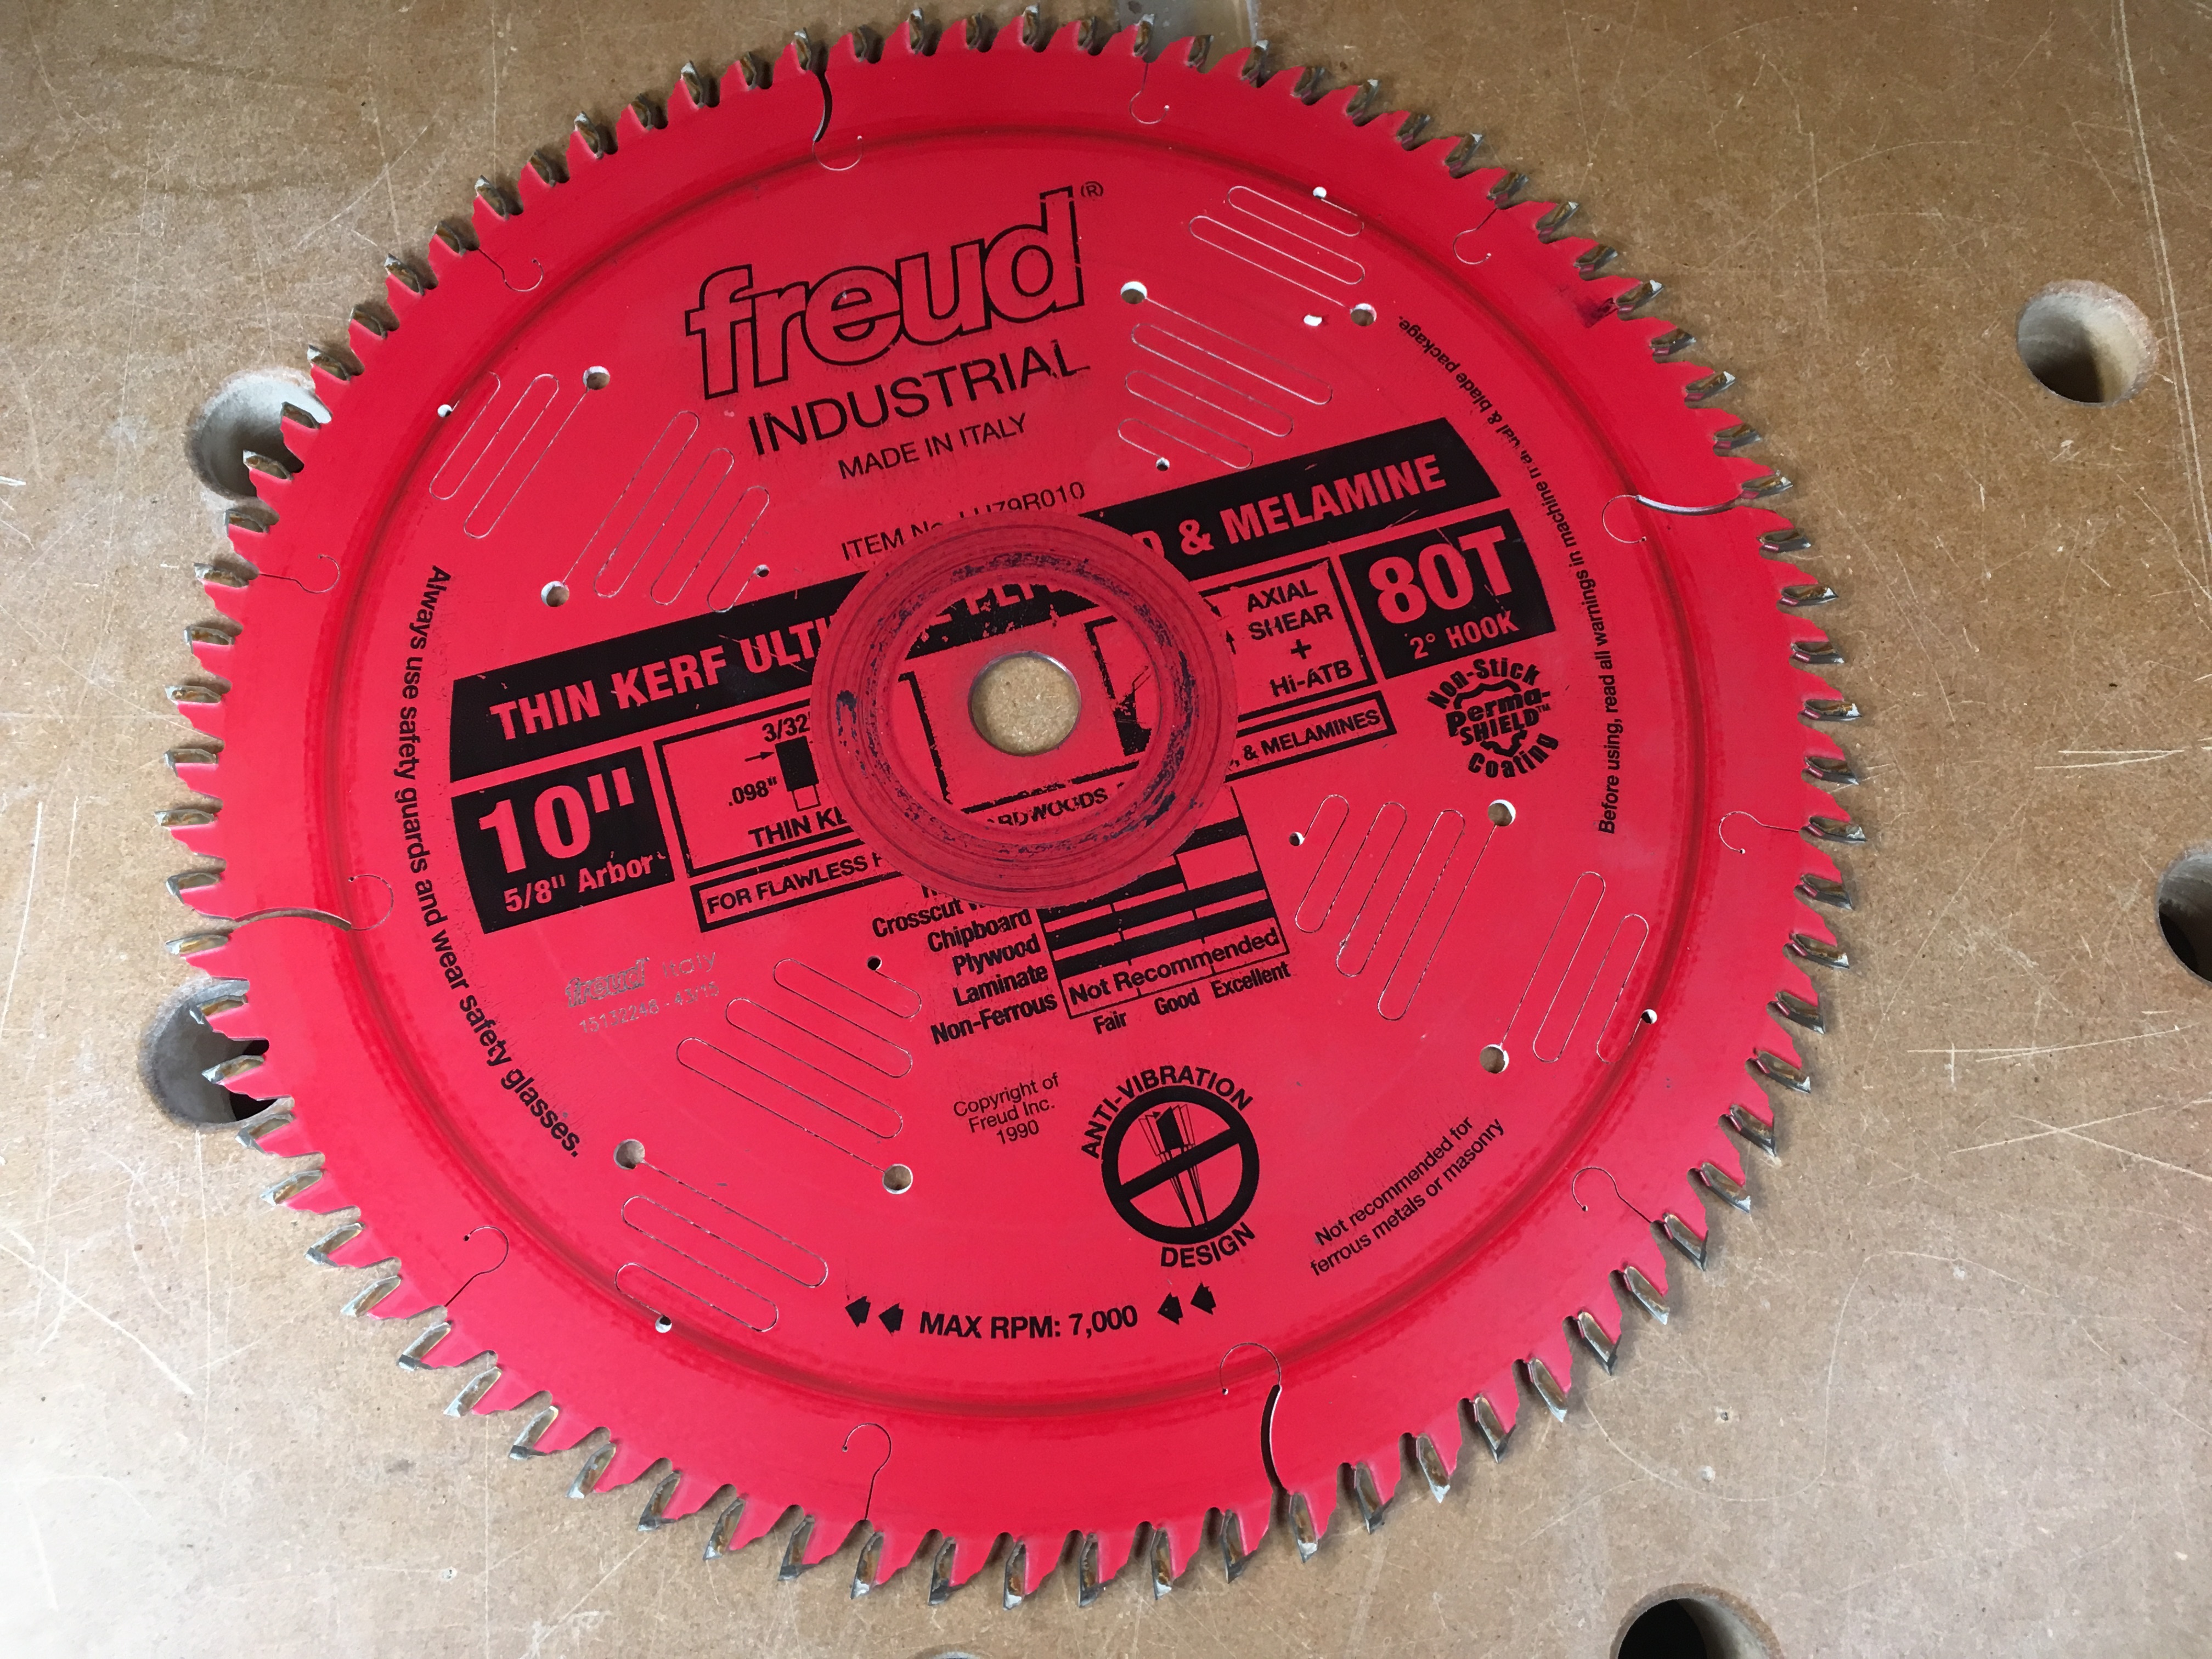
- Freud Thin Kerf Ultimate Plywood Blade
- Measuring tape tape (mm)
- Measuring tape tape (in)
- Magical roll of sticky sandpaper
Then of course, a table saw + crosscut sled!
Prepare & Cut

Measuring tape tape is extremely valuable for cuts like this.

Tray for 1/8" Shanks
- Use a standard thin kerf 3/32" saw blade
- Spacing: 1/2" or 1 cm
- Depth of dado: 0.5"

Tray for 1/4" Shanks
- Same standard thin kerf 3/32" blade
- Plus an extra cut at +1/16"
- Spacing: 1/2"
- Depth of dado: 0.6"–0.75"
Tray for 1/2" Shanks
- Use a dado stack: both wings + one 1/8" chipper
- Spacing: 7/8"–1"
- Depth of dado: 0.75"


Finishing Touches
Bust out some columns for a little tray to hold various parts that don’t fit in the holes.


Clean up tearout. Old faux wood blinds and a roll of sticky sandpaper make a quick stick sander perfect for this.

Enjoy
Go have fun. If you make this, drop a note or post a picture!

Subscribe to my YouTube channel if this is your type of thing.